Remote Raspberry Pi Access: Ultimate Guide & Tips
Can you truly control your Raspberry Pi from anywhere in the world? The answer is a resounding yes, and the possibilities for remote access are more accessible than ever before.
The world of remote computing has expanded exponentially, and with it, the need to access and manage our devices from afar. The Raspberry Pi, that tiny but mighty single-board computer, is no exception. Whether you're a hobbyist, a developer, or an educator, the ability to control your Raspberry Pi remotely unlocks a world of convenience and potential. Let's delve into the various methods and tools that make this a reality.
Remote Access Methods
Several methods exist for achieving remote access to your Raspberry Pi, each with its strengths and ideal applications. Understanding these options is key to selecting the best fit for your needs. The options range from simple command-line access to full graphical desktop environments.
SSH (Secure Shell)
SSH is a cornerstone of remote access, particularly for command-line interactions. It's lightweight, secure, and perfect for tasks that don't require a graphical interface. Think of it as a secure tunnel through which you can issue commands, transfer files, and manage your Pi remotely. The beauty of SSH lies in its simplicity and efficiency, making it ideal for headless setups, where the Pi operates without a connected monitor.
VNC (Virtual Network Computing)
For those who crave a graphical interface, VNC is an excellent choice. It allows you to see and interact with your Raspberry Pi's desktop environment as if you were sitting right in front of it. Several VNC server and viewer options are available, offering a range of features and levels of security. Services like RealVNC Cloud are also available, providing a user-friendly remote access option.
Raspberry Pi Connect
Raspberry Pi Connect is a dedicated service, and it is also a free screen sharing and remote shell service provided by raspberry pi. Its a super neat tool provided by the Raspberry Pi Foundation. It simplifies remote access, especially for beginners. This service, still in beta, aims to make controlling your Pi from anywhere in the world as easy as logging into a website, and the software allows you to control your raspberry pi remotely through a web browser.
Remote Desktop Software
Most articles that discuss logging into your raspberry pi remotely use xrdp to create remote desktop sessions into your raspberry pi. This is often a good solution, and works even if you do not have a physical monitor connected to your raspberry pi. There are several remote desktop software options which provide a GUI environment of your Raspberry Pi.
Here's a table summarizing the primary methods:
| Method | Description | Ideal Use Cases | Pros | Cons |
|---|---|---|---|---|
| SSH | Secure command-line access. | System administration, headless setups, lightweight tasks. | Secure, efficient, low resource usage. | Requires command-line proficiency. |
| VNC | Graphical desktop access. | Running graphical applications, remote desktop experience. | Full desktop access, easy to set up. | Can be resource-intensive, potential security concerns. |
| Raspberry Pi Connect | Web-based remote access. | User-friendly, accessible from a browser. | Simple setup, cross-platform. | Beta stage, may have limited features. |
| Remote Desktop Software | Graphical Desktop with Software | Running graphical applications, remote desktop experience. | Full desktop access, easy to set up. | Can be resource-intensive, potential security concerns. |
This table provides a basic overview of each method. As you work with each method, you will identify which method suits your needs best.
Setting Up Remote Access
The process of setting up remote access will vary depending on the method you choose. Let's break down some common setups, ensuring you have the necessary components and configuration.
Setting up SSH
SSH is generally the easiest to set up. If SSH is not enabled by default on your Raspberry Pi, you can enable it using the Raspberry Pi Configuration tool. Here's a breakdown:
- Enable SSH: Open the Raspberry Pi Configuration tool (Menu > Preferences > Raspberry Pi Configuration) and enable SSH under the "Interfaces" tab.
- Find Your Pi's IP Address: Determine your Raspberry Pi's IP address on your network. You can find this using a network scanner or by checking your router's connected devices.
- Connect from Another Computer: Use an SSH client (like PuTTY on Windows or the built-in terminal on Linux/macOS) and enter your Pi's IP address and username/password.
- Security Considerations: Change the default password for the 'pi' user, use key-based authentication for enhanced security and consider configuring a firewall.
Setting up VNC
VNC requires installing a server on the Raspberry Pi and a viewer on your remote device. Here's how:
- Install a VNC Server: Install a VNC server, like TightVNC or RealVNC's server, on your Raspberry Pi (e.g., `sudo apt update && sudo apt install tightvncserver`).
- Configure the Server: Start the server and set a password when prompted.
- Install a VNC Viewer: Download a VNC viewer app on your remote device (e.g., your phone or another computer).
- Connect: Enter your Raspberry Pi's IP address and the VNC server port (typically 5901 or similar) in the viewer, along with the password you set.
- Network Configuration: You will need to configure port forwarding on your router if you are accessing your Raspberry Pi from outside your local network.
Setting Up Raspberry Pi Connect
Since Raspberry Pi Connect is still in beta, the setup process may evolve. The following outlines the general steps:
- Sign up: Create an account at the Raspberry Pi Connect website.
- Install software: Follow the instructions provided by Raspberry Pi to install the necessary software on your Raspberry Pi.
- Link device: Associate your Raspberry Pi with your account.
- Access: Use a web browser on any device to connect to your Raspberry Pi through the Raspberry Pi Connect website.
Advanced Techniques and Considerations
Once you have mastered the basics, you can implement more sophisticated techniques to enhance your remote access experience.
Secure Connections and VPNs
Opening up your Raspberry Pi to the open internet directly can pose security risks. Using a Virtual Private Network (VPN) adds an extra layer of protection. You can set up a VPN server on your Raspberry Pi or your router, allowing you to connect to your home network securely from anywhere. This encrypts all traffic between your device and your home network, safeguarding your data.
Dynamic DNS
If your internet service provider assigns a dynamic IP address (which changes periodically), using a Dynamic DNS (DDNS) service is essential. DDNS services keep track of your public IP address and provide you with a static hostname, making it easy to connect to your Raspberry Pi even when your IP address changes. Services like No-IP and DynDNS offer free and paid options.
Terminal Multiplexers (Screen and Tmux)
For SSH sessions, terminal multiplexers like `screen` and `tmux` are invaluable. They allow you to detach and reattach sessions, ensuring your processes continue running even if your network connection drops. These are especially useful for long-running tasks.
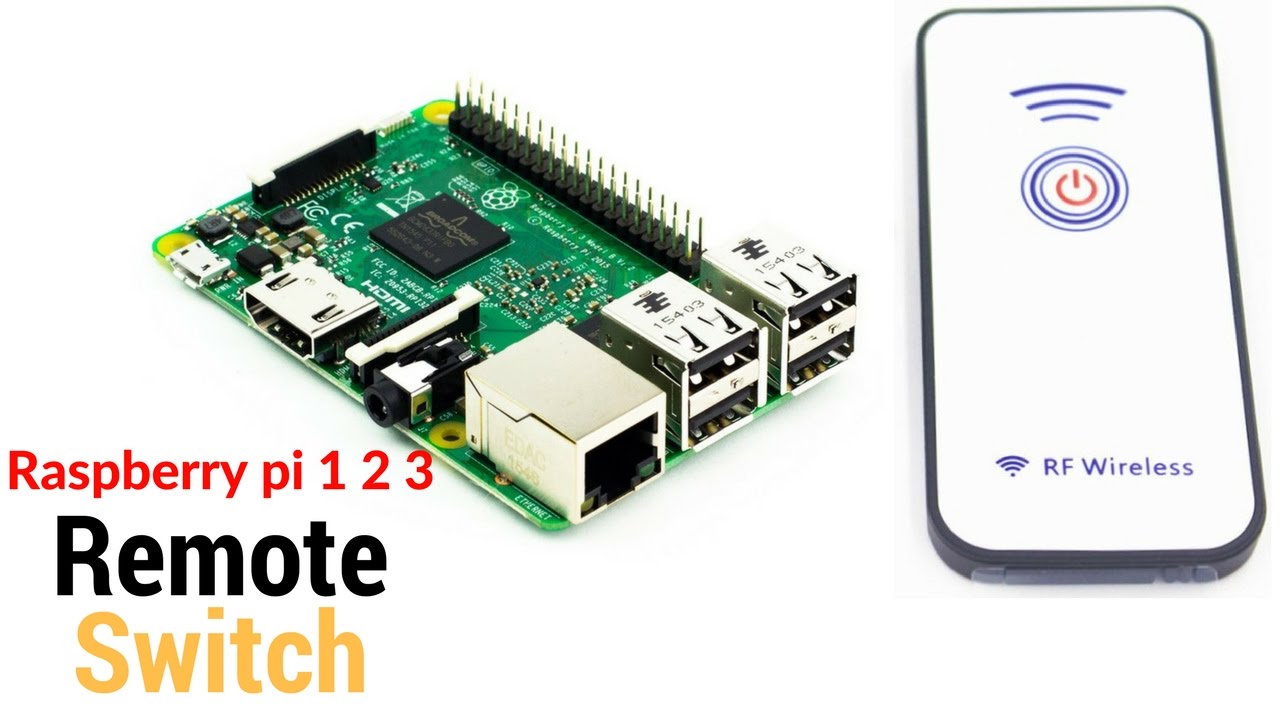
IR Remote Control for Raspberry Pi
Besides remote management, you can also remotely control your Raspberry Pi. Reading and decoding IR signals using Raspberry Pi is extremely easy. You need to use lirc (linux infrared remote control) and it will handle the most of the heavy lifting work for you. You have to connect an IR receiver to your raspberry pi as shown. IR sensor needs to be connected to 3.3v instead of 5v.
Remote Monitoring
Beyond basic control, consider implementing remote monitoring tools to stay informed about your Raspberry Pi's status. You can be notified if your device goes offline or stops unexpectedly. There are many remote monitoring tools to choose from.
Real-World Applications of Remote Access
The applications of remote access to a Raspberry Pi are vast and varied, spanning numerous projects and use cases.
Home Automation
Control lights, appliances, and other smart devices remotely. Monitor sensors and automate tasks based on environmental conditions.
Media Center Management
Manage your media library and control your media center (like Kodi) from anywhere. Change playlists, play/pause media, and adjust volume.
Robotics and IoT
Control robots and IoT devices remotely. Monitor sensor data and control actuators from a remote location.
Server Management
Administer servers running on your Raspberry Pi. Monitor system performance, manage files, and install updates.
Educational Projects
Remotely access and manage educational projects. Control robots, monitor experiments, and access programming environments from anywhere.
Troubleshooting Common Issues
Even with careful setup, you may encounter issues. Here are some common problems and how to resolve them:
- Connection Refused: Check the IP address, port number, and firewall settings.
- Authentication Errors: Verify your username and password.
- Slow Performance: Optimize network speed, reduce the resolution, and close unnecessary applications.
- Port Forwarding Issues: Double-check your router configuration for correct port forwarding settings.
Remote Access Requirements
To successfully set up remote access, you will need the following:
- A Raspberry Pi with internet access. An ethernet connection is recommended for speed and stability.
- A stable internet connection.
- A static IP address or a dynamic DNS service if your IP address is dynamic.
- Remote desktop software (if using VNC).
- A device to connect to your Raspberry Pi (computer, smartphone, etc.).
Kodi Remote Control Options
For users with Kodi installed, there are several ways to control your media center remotely:
- Kodi Web Interface: Kodi has a built-in web interface that lets you control your library from a web browser on any device.
- Official Kodi Remote Control App: Available on the Apple App Store and developed by joethefox.
- FLIRC USB: A customer favorite, allows control via a USB receiver and remote.


